
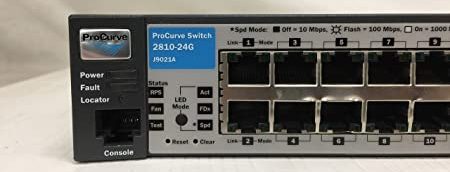
I wanted to replace the stock fans in my HP 2810-24g from the noisy stock ones from (Nidec?) to proper silent ones from Noctua, namely their amazing NF-A4x20 FLX running at DC12V @ 0.05A (0.6W) But my first attempt gave me a “FAULT” status and loads of errors in the event log. But I fixed it, here’s how:
See, most fans nowadays have 3 Pins:
RED – DC Voltage +
BLACK – DC Voltage –
YELLOW – Tachometer
Here the yellow wire is to detect a fault. Namely, if the yellow wire isn’t grounded the switch assumes there’s a fault. Fortunately, this is an easy fix!
Installing the fans
This part is by far the simplest, use a Phillips screw driver, remove the old screws and the old fans will just get loose, take them off the case. Remember to save these screws and fans in case you wanna revert to stock. One more thing to note, the screws the stock switch fans use aren’t thick enough for these Noctua fans, use the ones that come in the Noctua packaging! Lastly, remember to get a different bit on your screwdriver for these as they’re slightly bigger than the chassis screws.
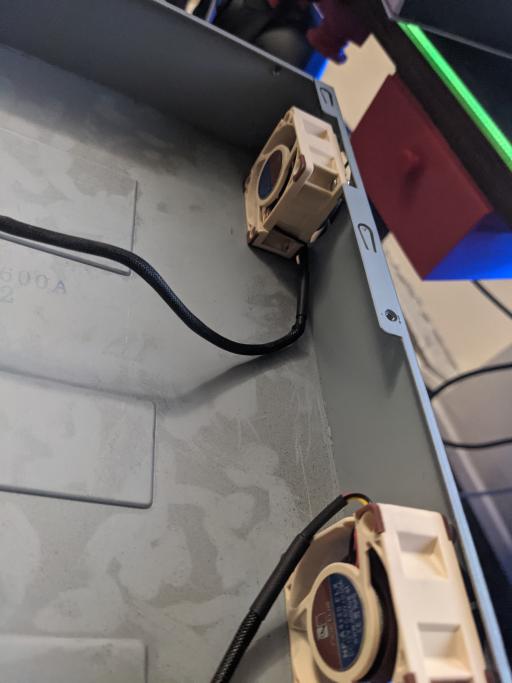
Make sure as well to have the label on both fans facing inward, so they blow air INSIDE the switch.
Tricking the switch
Now, find an led, or a resistor, or a clip, anything metal that is about the size of the fan pins. We’re about to make a dirty jumper! Now:
- Remove the yellow wire from the connector
- Insert the pin between the black connector and where the yellow one was. MAKE SURE YOU REALLY PRESS IT DOWN, you want it to connect GND (Black) to where the yellow connector was
- Isolate the yellow wire (cut it, tape it up, or shrink tube it), you don’t want this to potentially short something.

Troubleshooting
To make sure both of your fans are working correctly, power on your switch and see if the FAULT LED turns on. Should a fault be detected, maybe it’s time to check your event log and see which one is failing and try again. You can usually do this by Telnet-ing to the device ([FTP]Here’s a copy of the manual if you’re interested ) and running the “menu” command then choosing “Event Log“. The event log will gladly tell you which one is failing. Using this information, tweak your jumper job until she’s happy.
Result
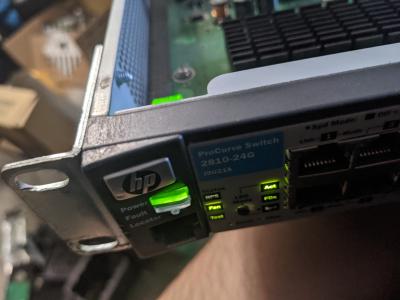
After its power on self-test she reports no fault. Both fans are spinning and quiet, which was the whole point of this upgrade.
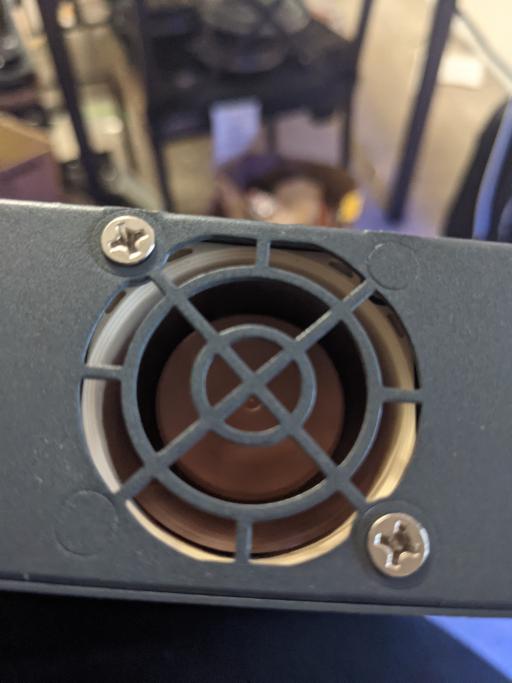
Proceed to close up and admire your handiwork:
I hope this helps you since I spent hours trying to figure this out!
Make sure i understand this correctly.
Connector side | PCB side
Red(power +) => Power + pin
Black(gnd) => moved to tach slot
Tach.=> disconnected
No,
Power and ground stay the same, but you disconnect the tachometer from the fan’s connector and short it to ground in the PCB as shown in the picture
This was excellent, thank you! I pulled the PCB and soldered some wire between the GND and TACH pins on the connectors and it’s working great (also much quieter!)